Now that web companies like Firefox and Google are taking arms against non SSL sites, even if those sites don’t request anything at all from a user, it’s time to bite the SSL bullet. I’ll take you through the 3 steps to make a non SSLsite into an SSL site.
1) Get an SSL Certificate. Talk to your web hosting customer support. SSL certs range from $1.99 / year at Namecheap.com all the way up to 1000’s of dollars when you purchase an upgraded cert from the likes of verisign. Just check with your hosting company. Typically they will do all the grunt work of installing the cert so you’re ready to access content as ssl on your site.
2) Set https a web page at a time with a WordPress plugin like WordPress HTTPS (SSL) — which is still working well, though its last update was in 2013 — or modify your htaccess to add code to the top of the file that forces all web pages to go to SSL.
RewriteEngine On
RewriteCond %{SERVER_PORT} 80
RewriteRule ^(.*)$ https://www.yourdomain.com/$1 [R,L]
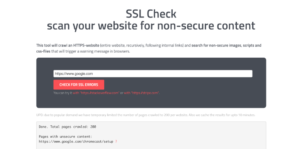
3) Find content like images and included javascript that references non https sources using a tool like JitBit’s SSL Check and a better test yet, but does not provide information about what content is non ssl, is to look at all of your ssl pages using FireFox and making sure all pages have a lock. I found JitBit to be more optimistic about the security of a given page, where Firefox would find an issue.
JitBit results on a site that still needs some work

JitBit found unsecure data (on Google!)

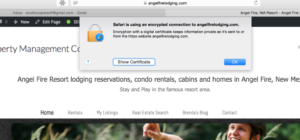
FireFox shows that this page is secure.
Now you’re done. After you have a good report from JitBit and have looked at all of your pages and have seen the Firefox lock on all of them, you’re done.


